AftabRad Revit Add-in -> Import DAT To Revit:
Export as U3D
In this
tutorial, we can see how to make a 3D pdf file by exporting the selected
calculation results together with selected elements of the model to a U3D file
and convert it to a 3D pdf file with the help of a TeX typesetting system based program like MiKTex.
Before
starting this tutorial, we need to install the MikTex from the below link:
Then, to
create such an 3D pdf file, we should do the following steps.
1- Press ImportToRevit
button in the AftabRad Add-in

2- Then, by
following the tutorials like these:
https://www.aftabsoft.net/AftabRadTutorial/RadianceDat2Revit.htm
https://www.aftabsoft.net/AftabRadTutorial/RoomSpaceBasedAnalysis.htm
https://www.aftabsoft.net/AftabRadTutorial/CreatingTemporalMapAnalysis.htm
we can define which type of analysis and how it should be imported into
Revit.

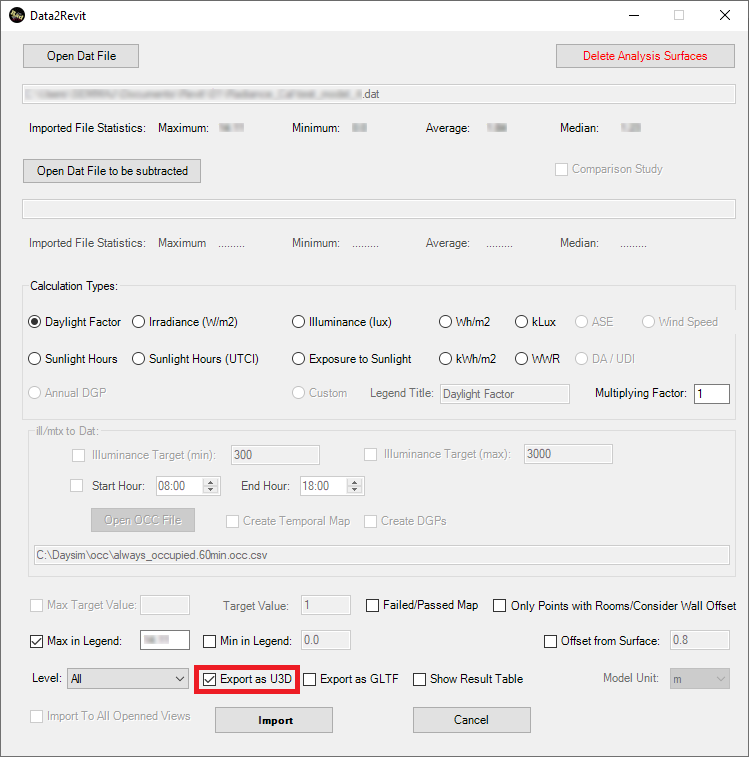
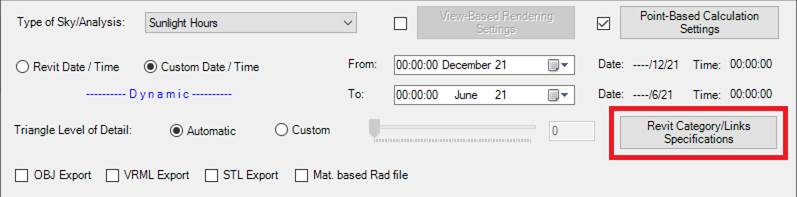
3- In the Data2Revit
page, we need to activate the Export as U3D option.
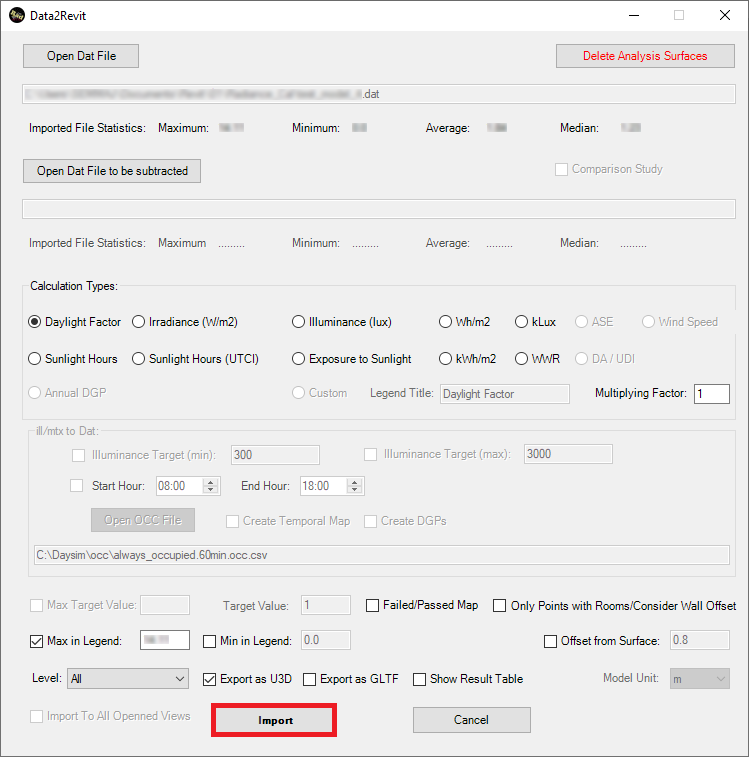
4- Next it to
press the Import button in the main Data2Revit page.
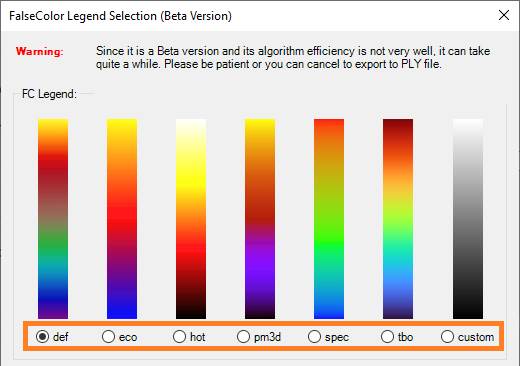
5- By pressing the
Import button in the Data2Revit page, the FalseColor Legend
Selection page will be opened.
-
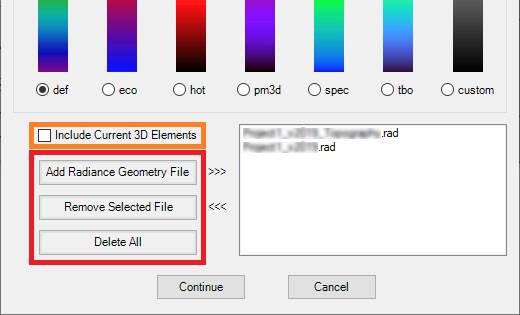
Then, in the part of this page that is shown in
the below, you can choose the color palette on which you want to make your
falsecolor results to be based.
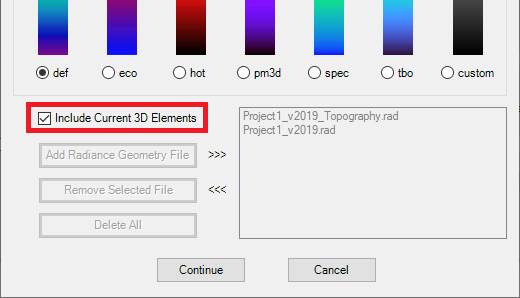
-
Moreover, other than the calculation results
that are going to be shown as falsecoolor, to decide which other 3D objects
should be shown in the 3D pdf file,
by activating this checkbox, all the Revit
elements that are shown in current view will be exported when creating the U3D
file.
Here it is worth to say that, the filtering
that is made in the Material by Category page in the Revit2Radiance
page (see the below image) is still valid when exporting the elements to U3D
file.

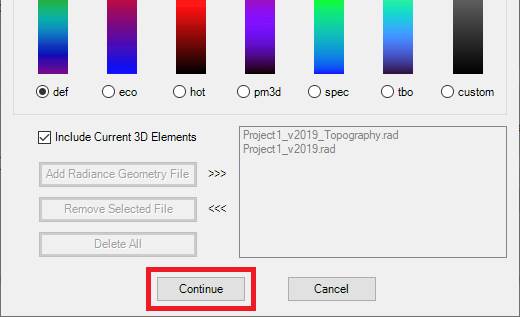
However, if the Include
Current 3D Elements checkbox is not selected, then with the highlighted
buttons in the below image, you can add or remove Radiance Rad files that are
going to be
converted as ordinary
objects when exporting to a U3D file.
Then, by pressing the Continue
button, it starts to create a U3D file that will be later used by MikTex to
make a 3D pdf file.
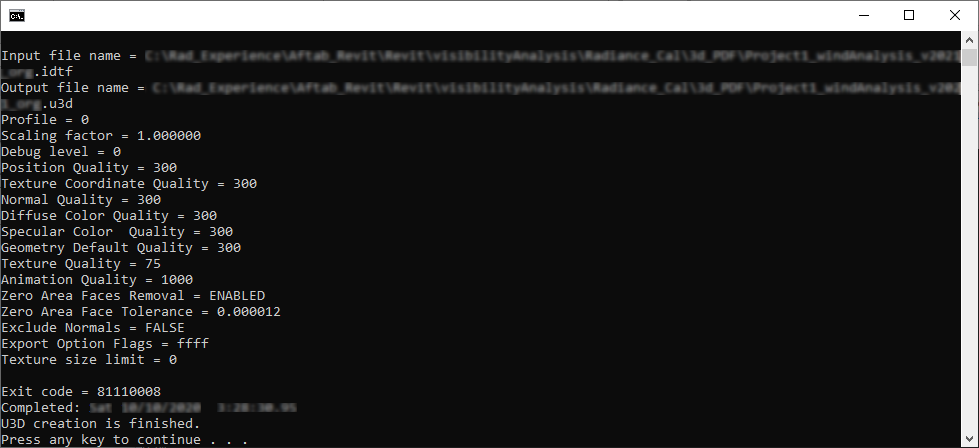
Finally, after pressing
the Continue button, a page similar to the one that is shown in the below will
be appeared on the screen.

6- When the
calculation is finished…
7- Then, we should
open TeXworks program.
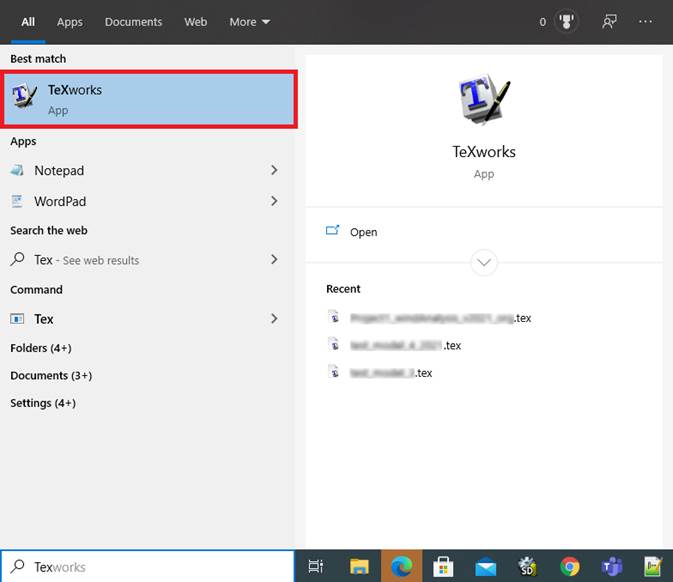
8- In the TeXworks
main page, select pdfLatex

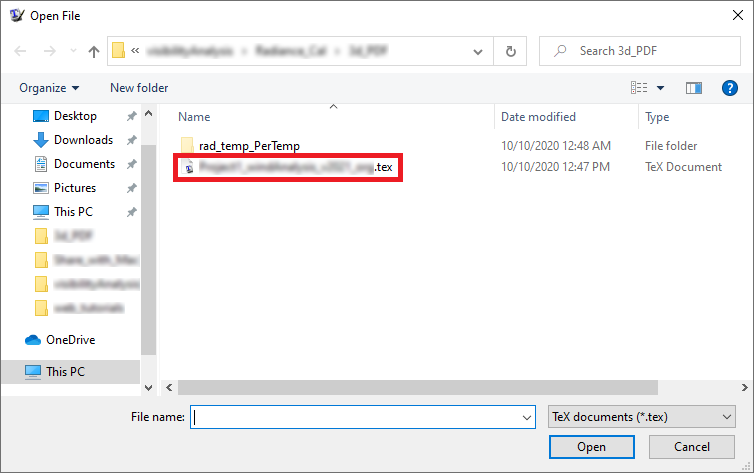
9- Then go to File
-> Open, and under the folder that all other Radiance and calculation
files are saved, select the *.tex file.
10- Then, you
should see something like the below:
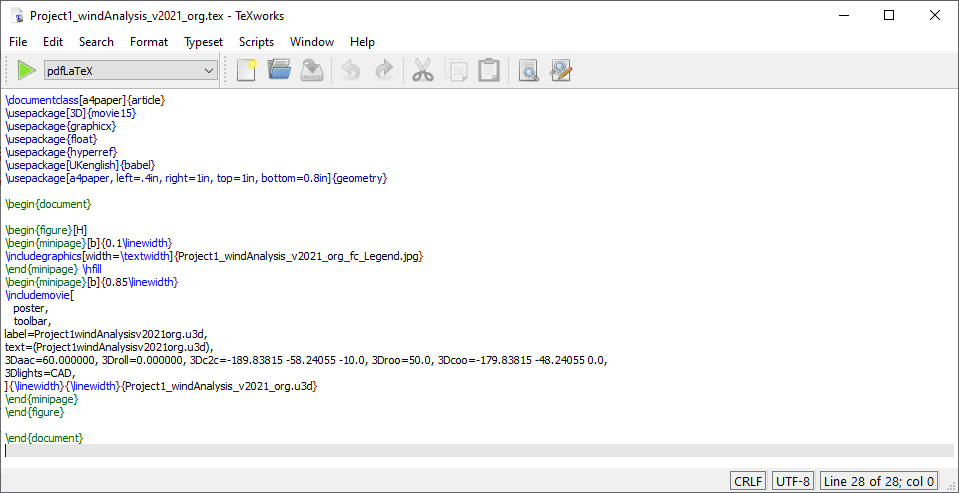
11- Finally, by
pressing the Typeset button, TeXworks starts to create a 3D pdf file.

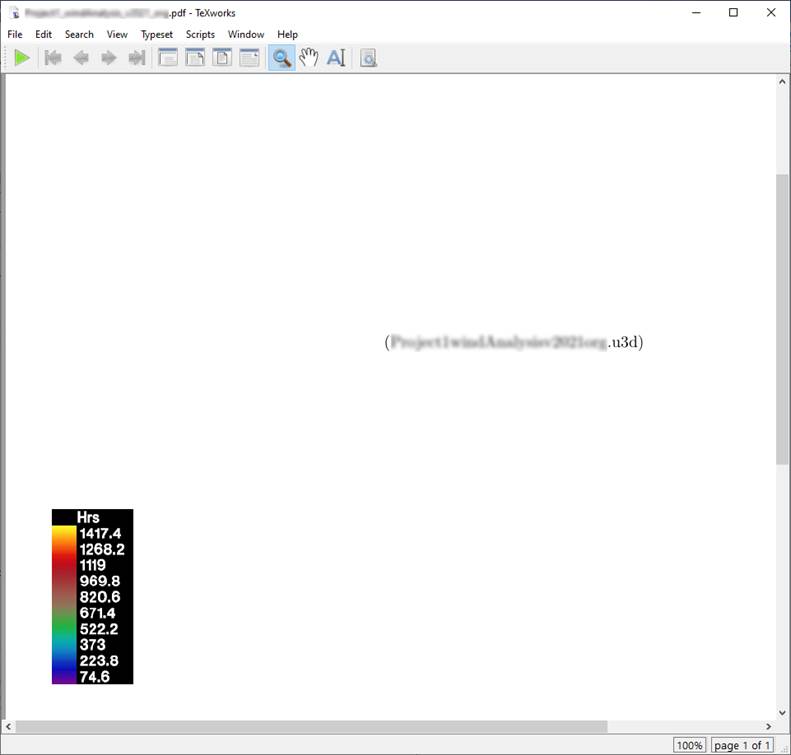
12- When it
finishes, a new page like the one in the below should pop up on the screen.
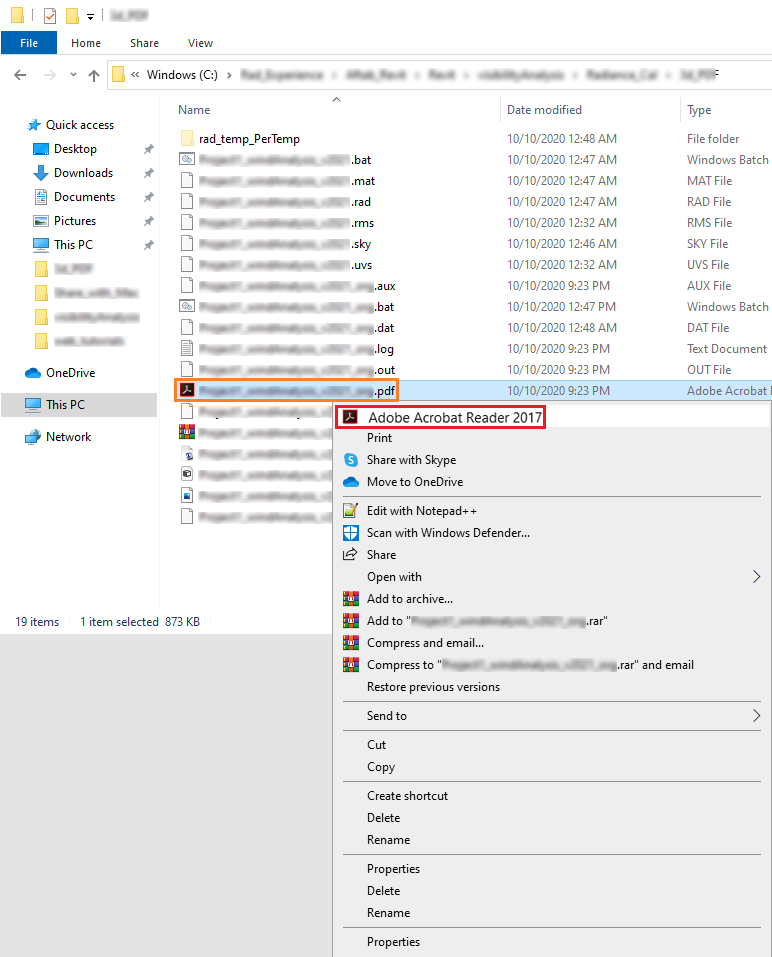
13- Now, the last
step is to close the TeXworks windows and re-open the newly created pdf
file with programs like Adobe Acrobat Reader.
As an example, you should create a file like this.